Lab 2: Bluetooth Communication
Click here to return to home page
Key code snippets are on this site, but the complete files can be found on on GitHub.
Installation
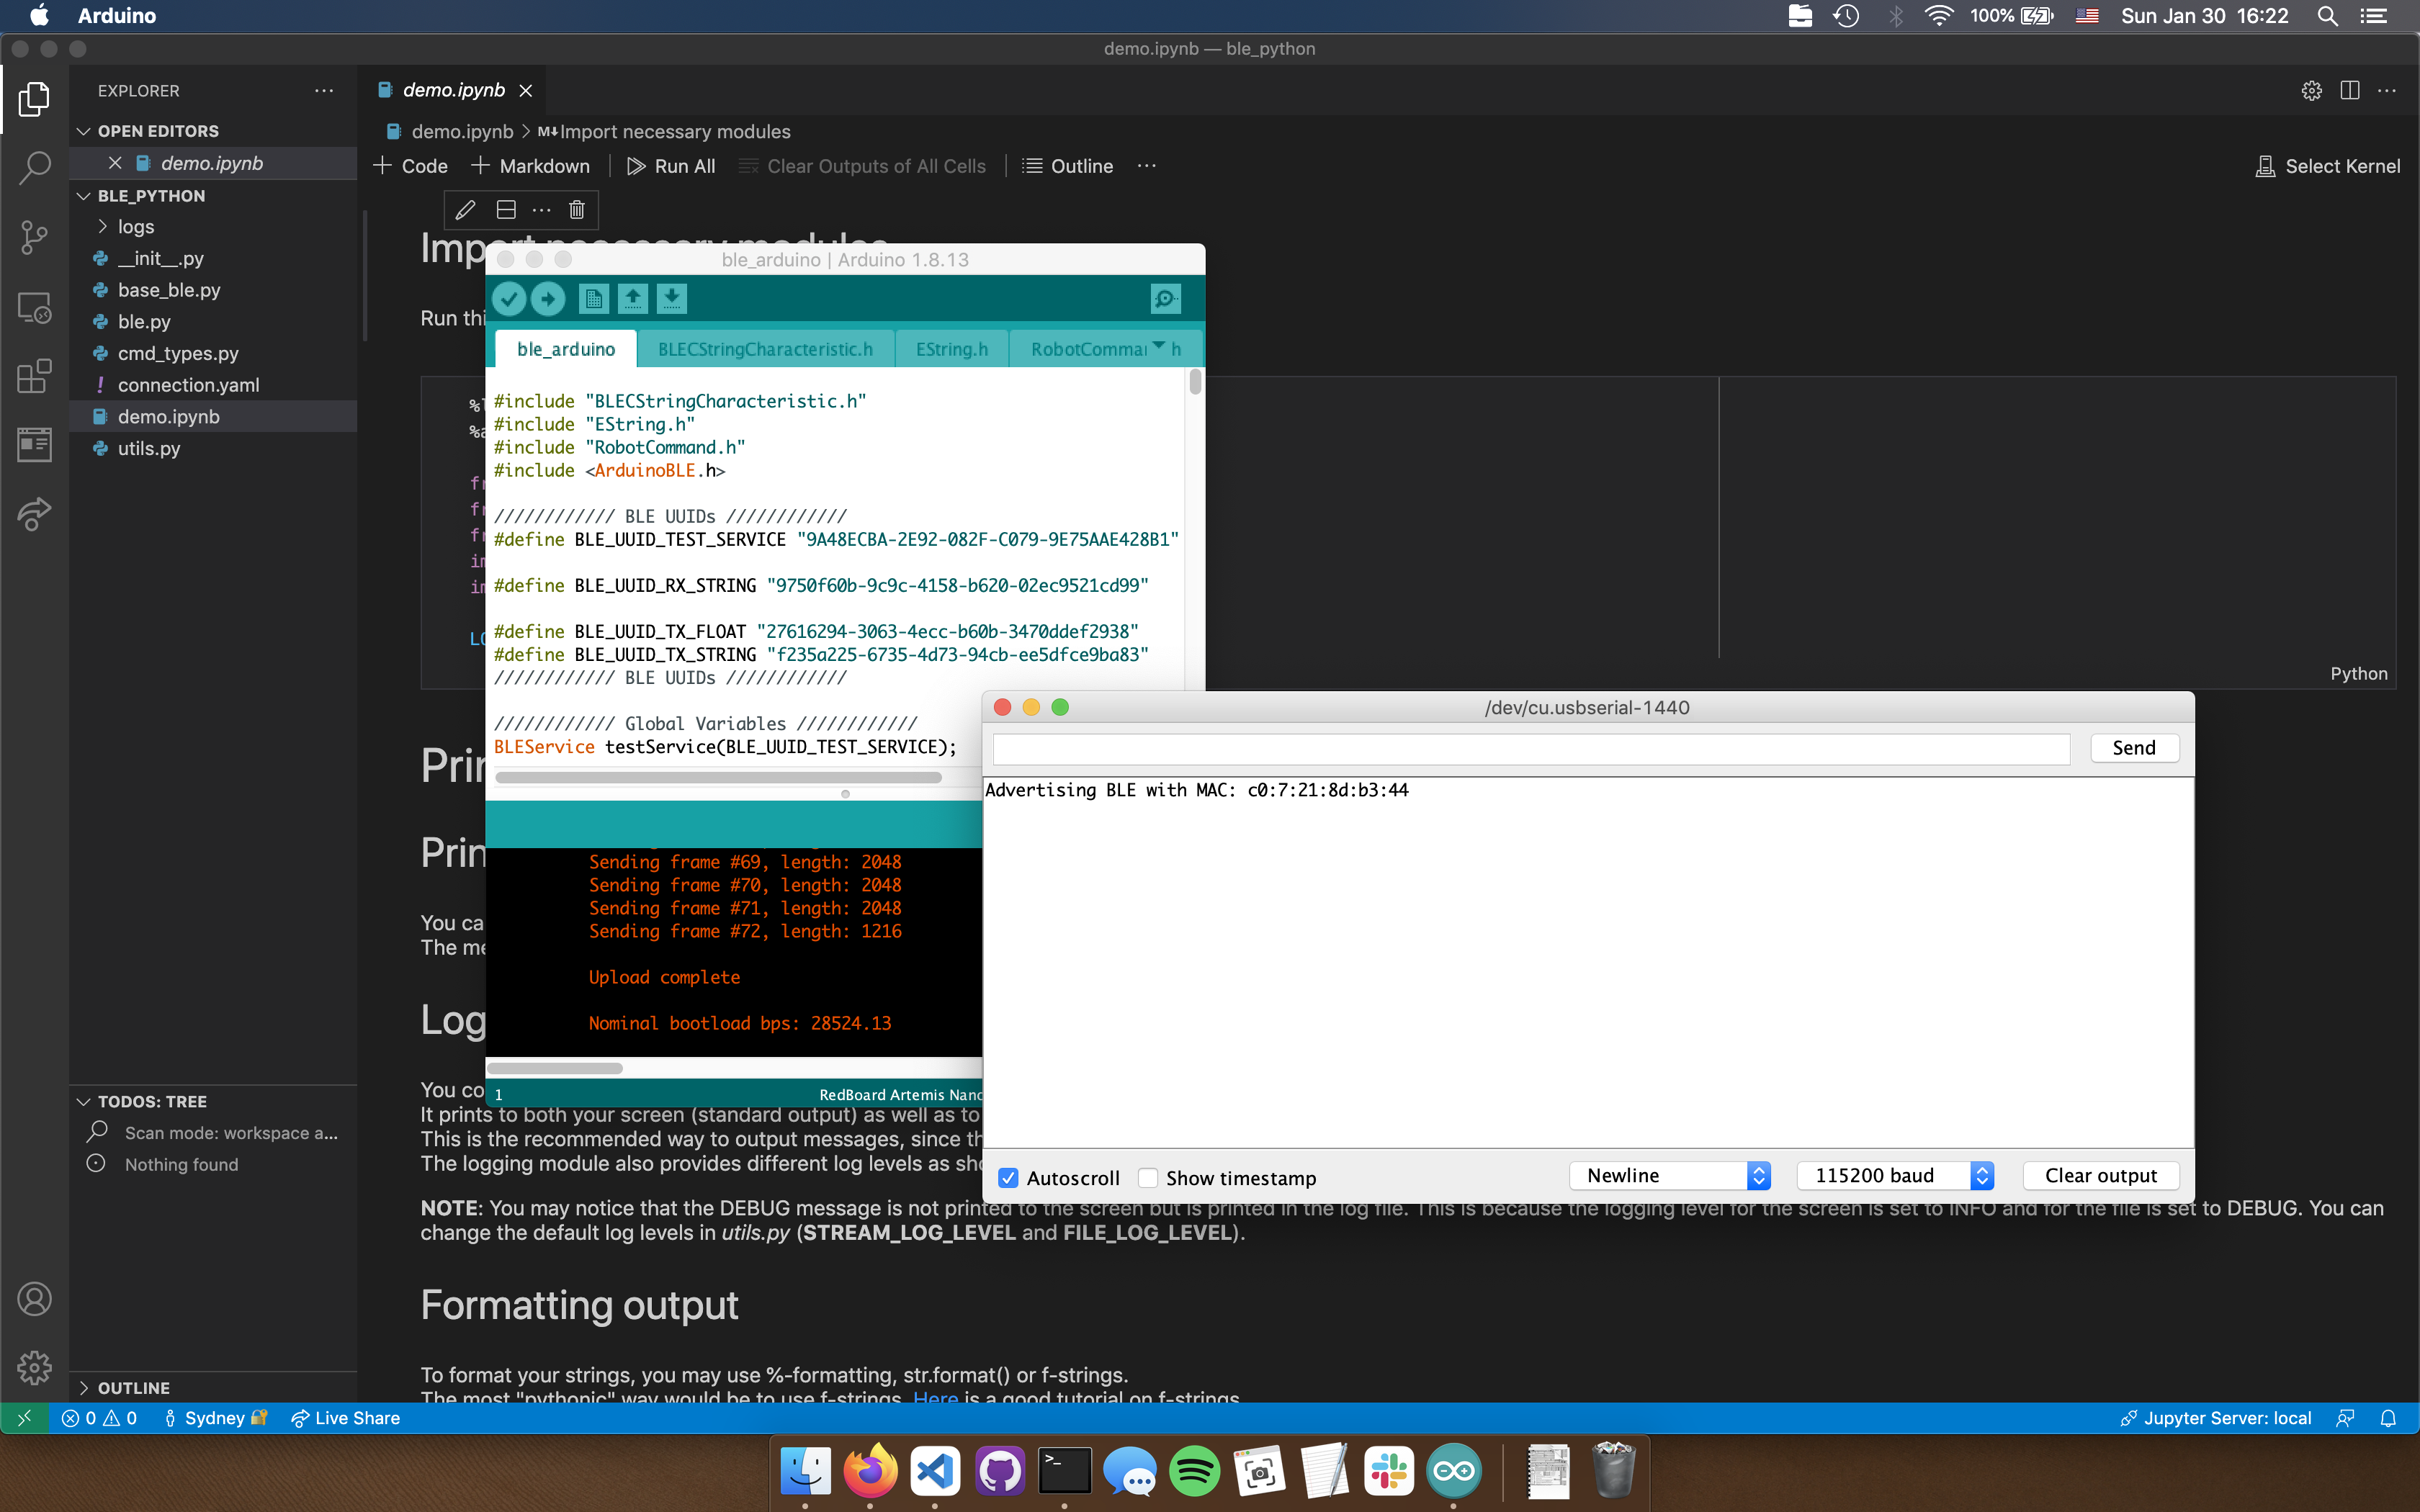
Before, I was running macOS Mojave 10.14, and the Artemis gave me its MAC address after uploading the sketch provided.
 Artemis board, tell me your secrets
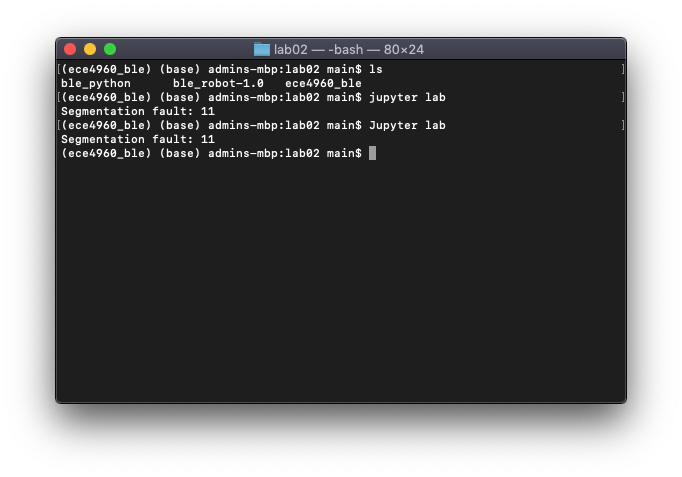
I then ran into an issue where running jupyter lab causes a segfault:
 Throwback to learning C in CS 3410
After making a discussion post, I was told that my OS version was too old. Although I thought upgrading my OS would create issues with other projects, I looked into them and realized there wouldn’t be any issues if I made the upgrade. So I backed up my computer, waited a few hours for the upgrade to take place, and ran everything as normal.
 Hooray, it works!
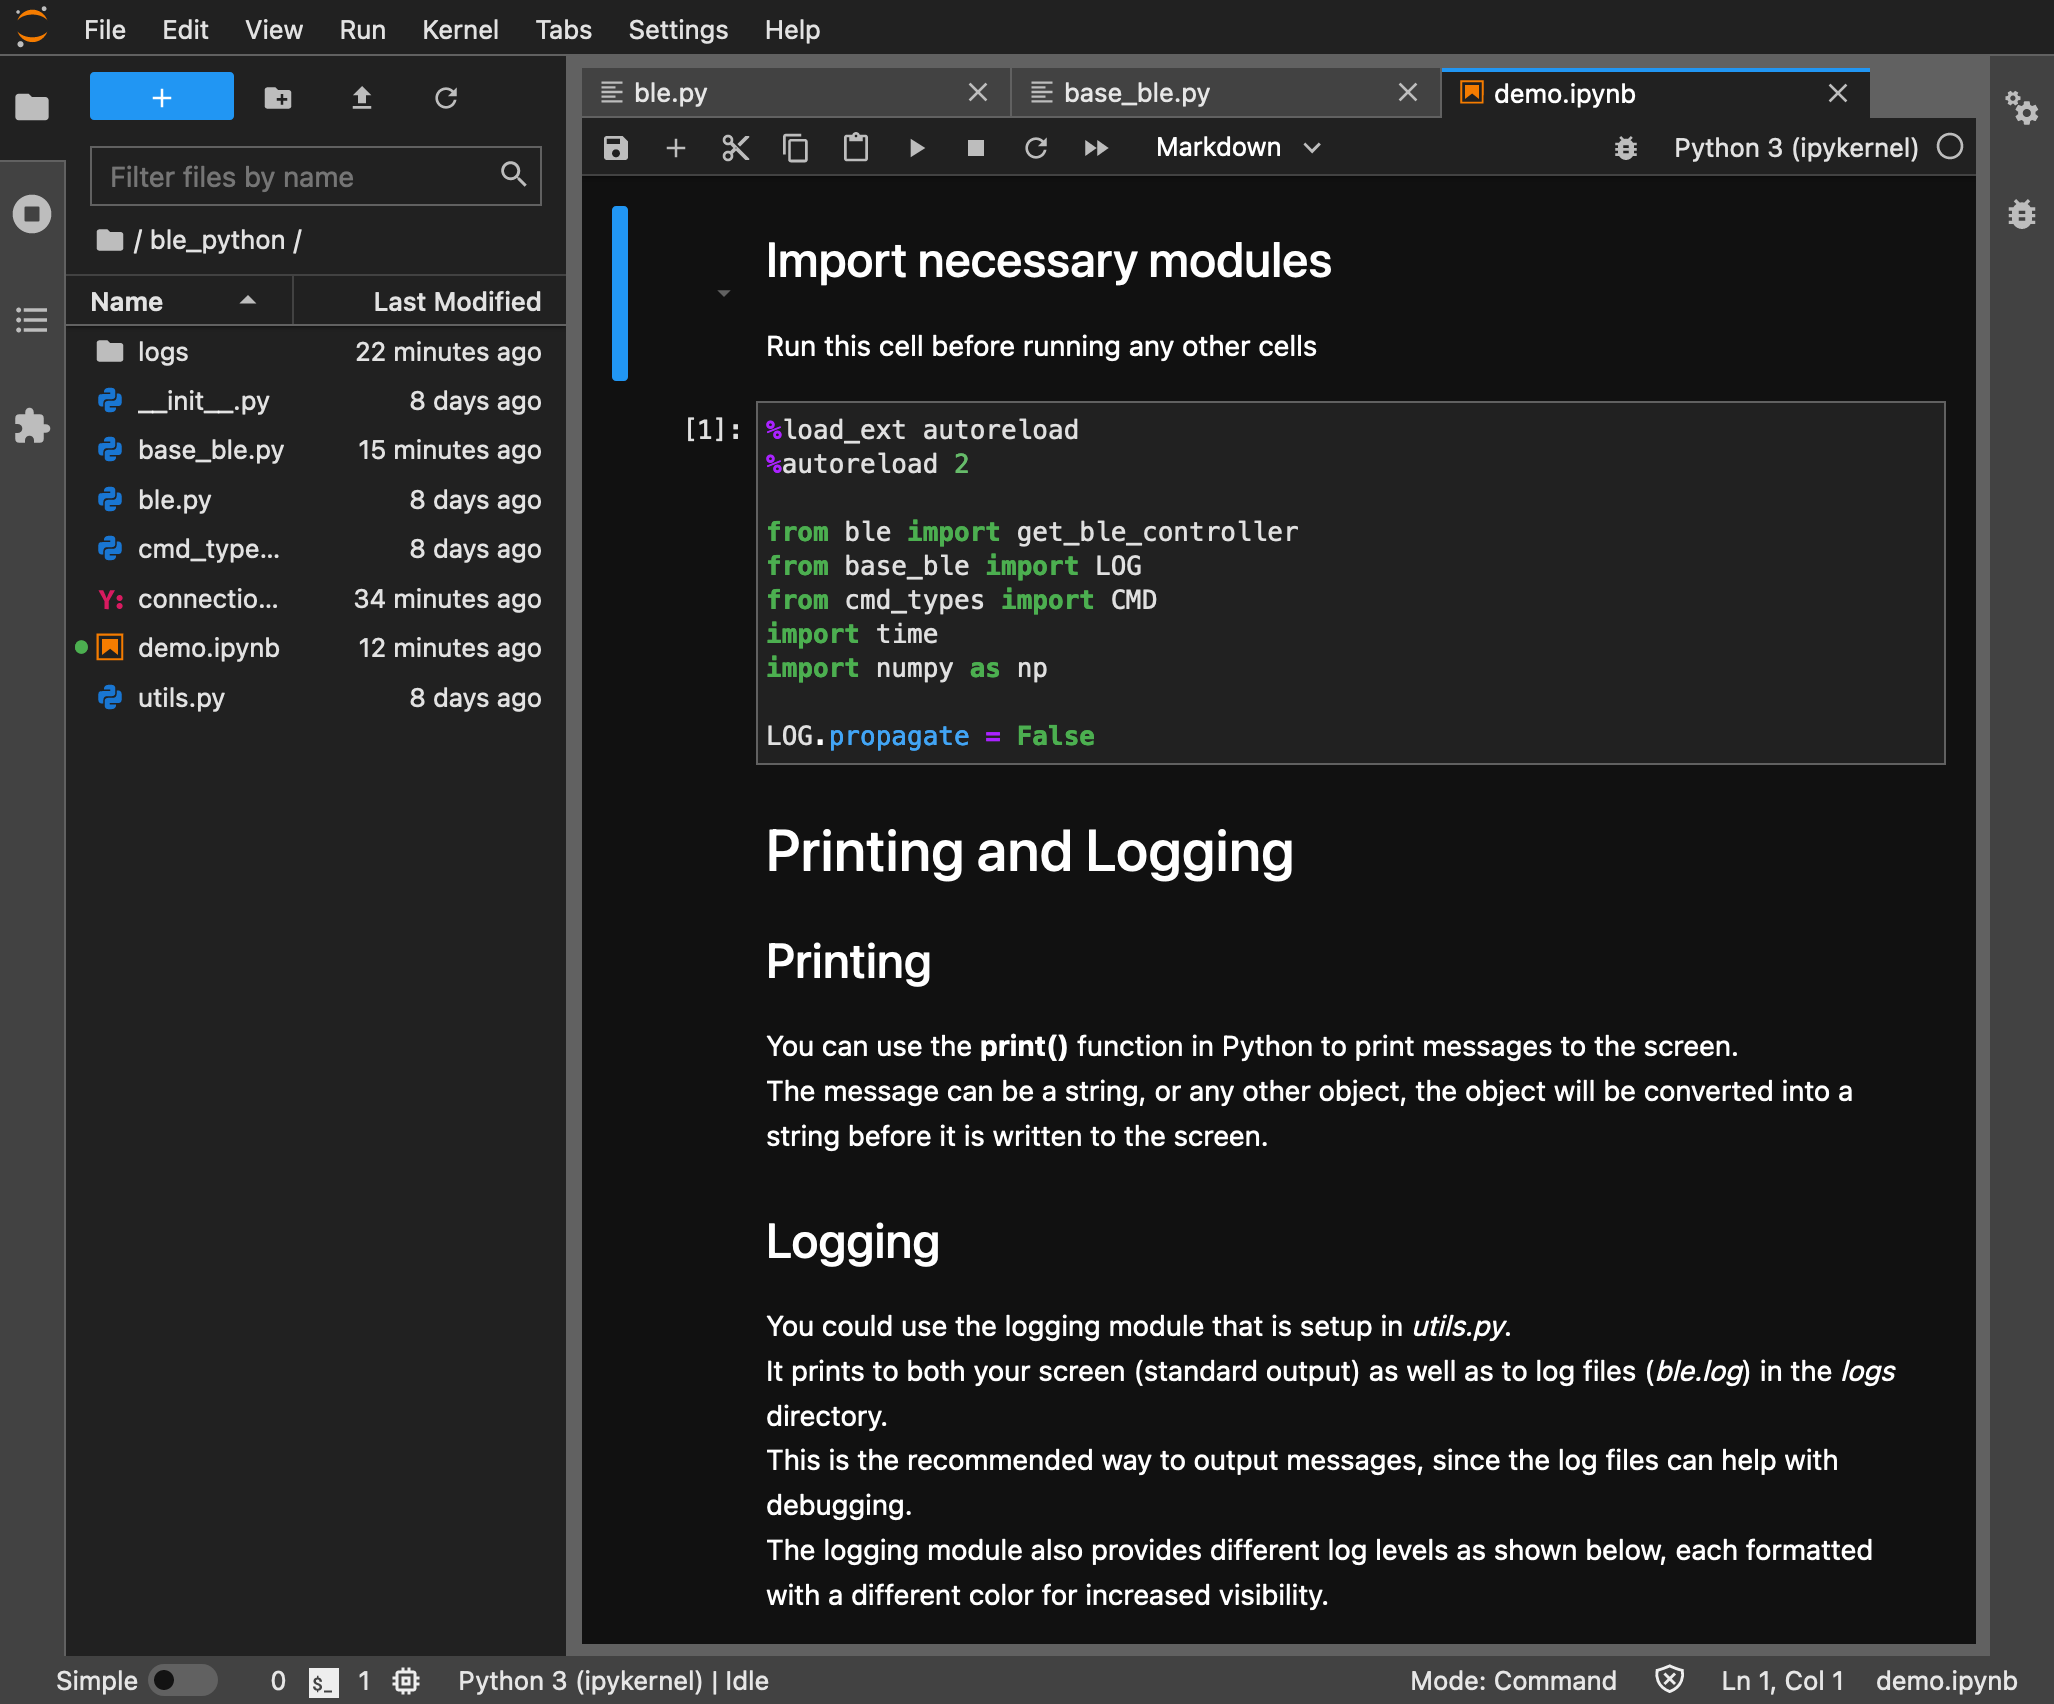
The notebook still didn’t run when I tried (as my mac failed to connect to my Artemis board). I went to lab hours for help, and TA Vivek helped me debug the issue. We discovered that there’s a known bug where the code the lab comes with has a line that will report an incorrect macOS version, so Vivek edited my code to override that line. After that, the entire notebook ran as normal. He also told me that I could use Visual Studio Code (my favorite text editor) to do this instead of a browser if I liked, so I used that to my advantage to help show that the entire demo ran smoothly.
 At long last, everything works normally now
Lab Tasks
These are all readable from this site, but I think the GitHub preview is prettier.
Setup
This code is ripped straight from the demo. It imports requirements and connects the board to the computer.
%load_ext autoreload
%autoreload 2

from ble import get_ble_controller
from base_ble import LOG
from cmd_types import CMD
import time
import numpy as np

LOG.propagate = False

# Get ArtemisBLEController object
ble = get_ble_controller()

# Connect to the Artemis Device
ble.connect()
2022-02-01 16:50:19,827 |[32m INFO [0m|: Looking for Artemis Nano Peripheral Device: C0:07:21:8D:B3:44
2022-02-01 16:50:23,755 |[32m INFO [0m|: Connected to C0:07:21:8D:B3:44
Task 1
Send an ECHO command with a string value from the computer to the Artemis board, and receive an augmented string on the computer.
Arduino Code Changes
/*
* Add a prefix and postfix to the string value extracted from the command string
*/
case ECHO:

  char char_arr[MAX_MSG_SIZE];

  // Extract the next value from the command string as a character array
  success = robot_cmd.get_next_value(char_arr);
  if (!success)
      return;

  /*
  * Your code goes here.
  */
  tx_estring_value.clear();
  tx_estring_value.append("Robot says: \"");
  tx_estring_value.append(char_arr);
  tx_estring_value.append("\"");
  tx_characteristic_string.writeValue(tx_estring_value.c_str());

  Serial.print("Sent back: ");
  Serial.println(tx_estring_value.c_str());

  break;
Python Command and Test
ble.send_command(CMD.ECHO, "Greetings, human")
msg = ble.receive_string(ble.uuid['RX_STRING'])
print(msg)
Robot says: "Greetings, human"
Task 2
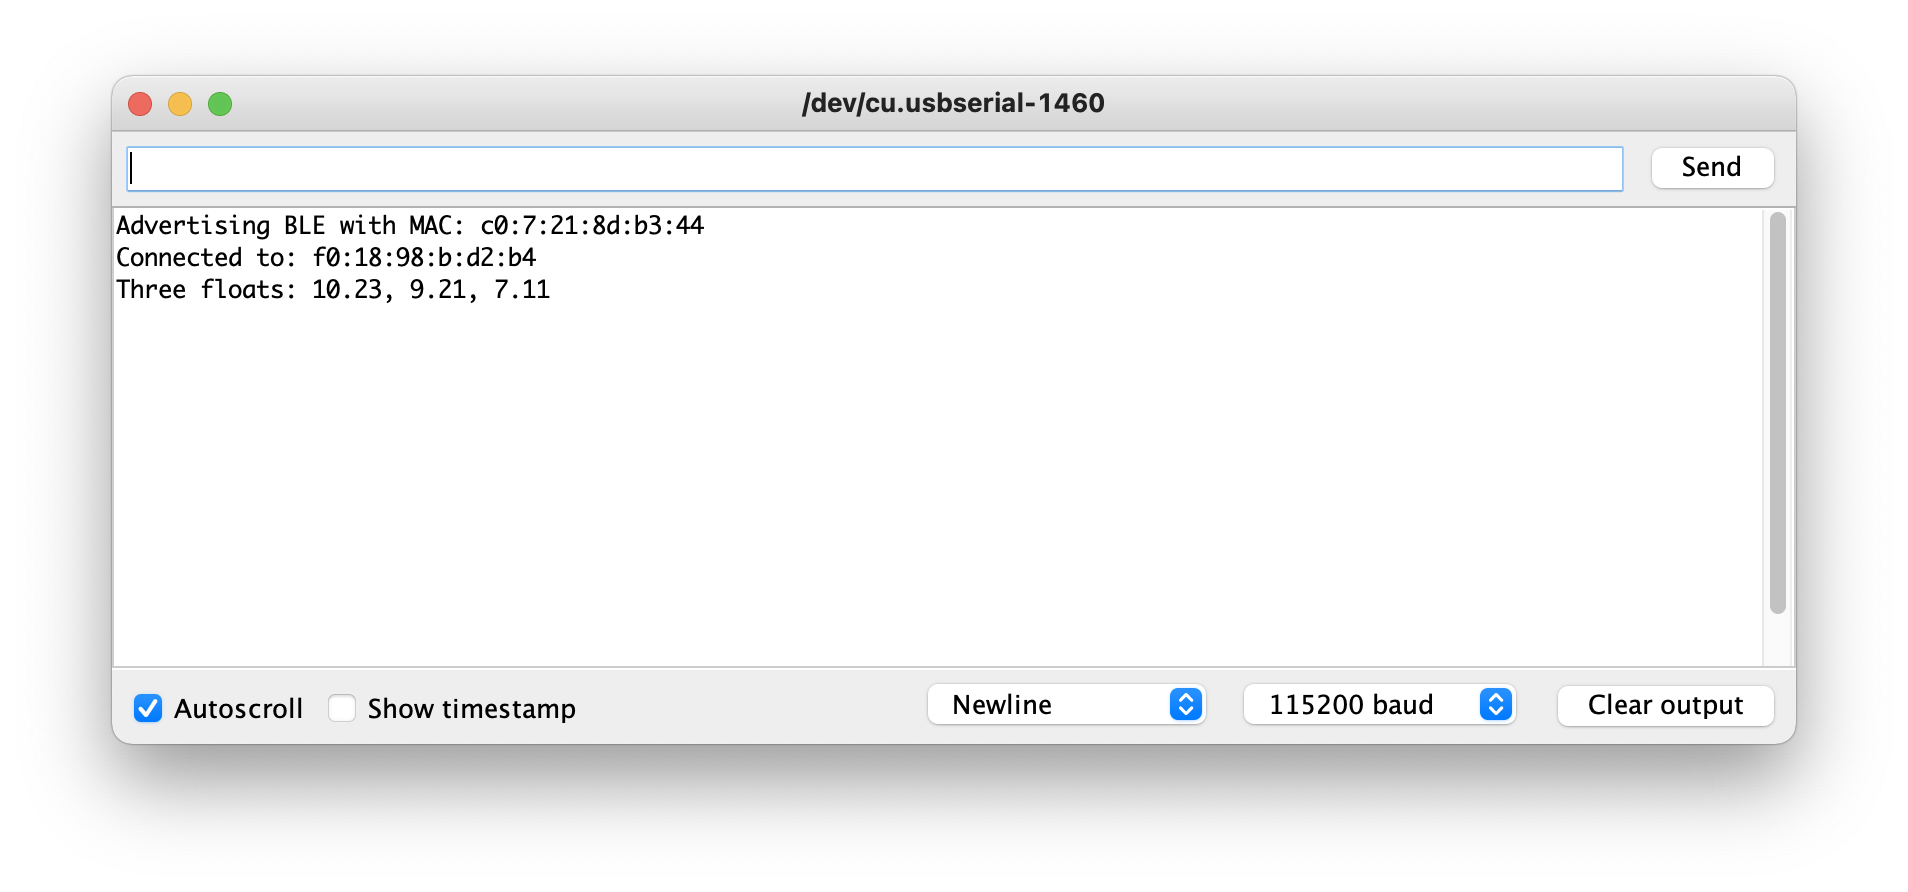
Send three floats to the Artemis board using the SEND_THREE_FLOATS command and extract the three float values in the Arduino sketch.
Arduino Code Changes
/*
* Extract three floats from the command string
*/
case SEND_THREE_FLOATS:
  /*
  * Your code goes here.
  */
  float float_1, float_2, float_3;
  // Extract 3 floats in sequence, and fail if any one of them fails
  success = robot_cmd.get_next_value(float_1);
  if (!float_1) return;
  success = robot_cmd.get_next_value(float_2);
  if (!float_2) return;
  success = robot_cmd.get_next_value(float_3);
  if (!float_3) return;

  Serial.print("Three floats: ");
  Serial.print(float_1);
  Serial.print(", ");
  Serial.print(float_2);
  Serial.print(", ");
  Serial.println(float_3);

  break;
Python Command and Test
ble.send_command(CMD.SEND_THREE_FLOATS, "10.23|9.21|7.11")

Task 3
Setup a notification handler in Python to receive the float value (the BLEFloatCharactersitic in Arduino) from the Artemis board. In the callback function, store the float value into a (global) variable such that it is updated every time the characteristic value changes. This way we do not have to explicitly use the receive_float() function to get the float value.
Python Code Changes
Arduino code not modified
current_float_recv = 0.0

# Record received float notifications
def handle_recv_float(uuid, val):
  global current_float_recv
  print(ble.bytearray_to_float(val))

ble.start_notify(ble.uuid['RX_FLOAT'], handle_recv_float)

# Wait for three seconds before stopping notifications
# to avoid flooding the notebook output
time.sleep(3)
ble.stop_notify(ble.uuid['RX_FLOAT'])
2850.5
2851.0
2851.5
2852.0
2852.5
2853.0
Task 4
In your report, briefly explain the difference between the two approaches:
- Receive a float value in Python using
receive_float()on a characteristic that is defined asBLEFloatCharactersiticin the Arduino side - Receive a float value in Python using
receive_string()(and subsequently converting it to a float type in Python) on a characteristic that is defined as aBLECStringCharactersiticin the Arduino side
It’s better to use Approach 1. receive_float() is named in a way to suggest it is designed to receive floating point numbers, and receive_string() is designed for strings. The naming implies there exists an API dictating what these functions do, and how it does it is left to the implementation that is not exposed to us. If someone were to optimize the implementations for each type, using the correct one (i.e. using receive_float() to receive floats as in Approach 1) would allow one to benefit from such an optimization, while Approach 2 does not receive the same benefits.
To illustrate this principle, let’s consider a possible implementation:
Approach 1 receives the float by directly interpreting the byte array the Arduino sends as a floating-point value, likely according to IEEE 754.
Approach 2 (naively) receives the “float” by receiving a string and interpreting that as a float by a character-wise conversion, which restricts one to sending numbers with a number of characters less or equal to the longest possible string one can send.
From this, we can conclude we can express more with the optimized Approach 1:
- Assuming the Artemis is using a 32-bit single-precision floating point number, one can express numbers from ±10^-38 to about ±3*10^38 to 7 decimal places
- Each character of a string takes 8 bits, so we have at most 4 characters to work with. Assuming the string represents a human-readable number,
- The maximum number we can represent is
"9999" - The minimum number we can represent is
"-999" - The smallest increment we can represent is
".001"
- The maximum number we can represent is
Based on these assumptions, it’s better to use Approach 1. One could of course convert each byte character-wise to match the IEEE 754 data and send that as a string, but that would be needlessly complicated.